1999 Yamaha R1 Tail Light To GS500E Conversion-The Beginning.
The very first modification(mod) I made to my 89 Suzuki GS500E, was to replace that hideous red brick Suzuki dubbed a taillight.I've seen more stylish taillights on a school bus.Some people have used other taillights from other motorcycles,aftermarket one offs,and homemade taillight.I have even seen the factory GS500E taillight flipped and recessed.Honestly,the flipped and recessed factory taillight don't look half bad.It makes it appear to be brighter, because it gets the light under the tail more, and keeps the sun from washing out the lights.I don't have any info on this,but I will share my experience at installing the 1999 Yamaha R1, AKA YZF1000R, Clear Alternatives taillight.This light is now being produced by a different company and can be had for $20 to $40.It pays to shop around.I found mine on Ebay for $13 shipped, brand spanking new.They guy wrecked his motorcycle while waiting for the taillight to arrive.He found it a few years later, and now I have it.
Installing the taillight is pretty straight forward.The old taillight is held on by two nuts.Remove the nuts, through the tail under the seat,slide the taillight out the back end a little,and unscrew the bulb sockets.The bulb sockets make a quarter turn and pull straight out.The new Yamaha R1 taillight is held in by two button head screws.The taillight mounts in the same place.First,some GS500E motorcycles have a little bracket that comes out when the original taillight is removed.This little bracket is not used with the Yamaha R1 taillight.It can go in the box of spare parts with that hideous red brick.Another issue that some people have when doing this conversion,is the bulb socket not properly seating.There is a little tab on the GS500E bulb socket that needs to be cut down.It can be done with a box cutter or hobby knife.My GS500E did not require this modification to be made in order to fit the Yamaha R1 taillight.After getting the bulb sockets in place,the taillight is ready to be installed on the bike.When installing the taillight,do not crank down on the screws.Nice and snug on the screws.Just enough to keep the taillight from flopping around.To much tightening of the mounting screws will split the plastic taillight mounts and trash the taillight.
Now that it's all done,check to make sure the light bulbs still work,and go for a victory ride.
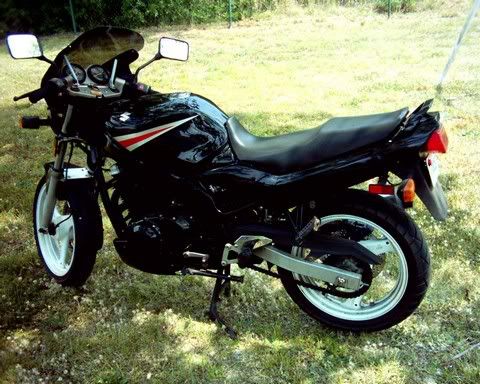
See that hideous read brick hanging out of the back of my motorcycle?It had to go. 
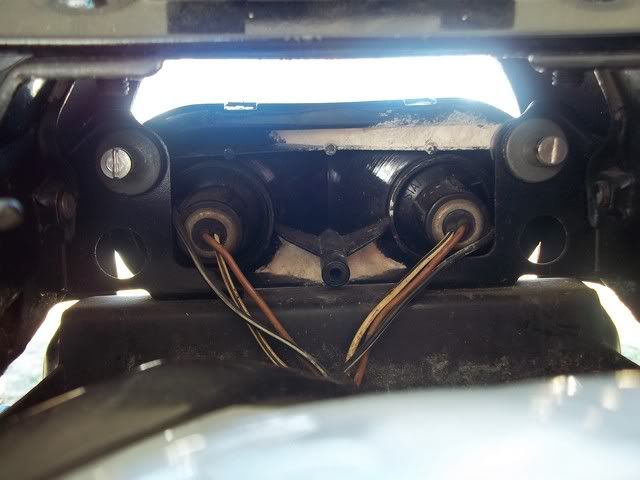
Here is how the new Yamaha R1 taillight looks when it's mounted.I used the rubber grommets and washers that hold the factory taillight.Sorry for all the dirt and junk in there.
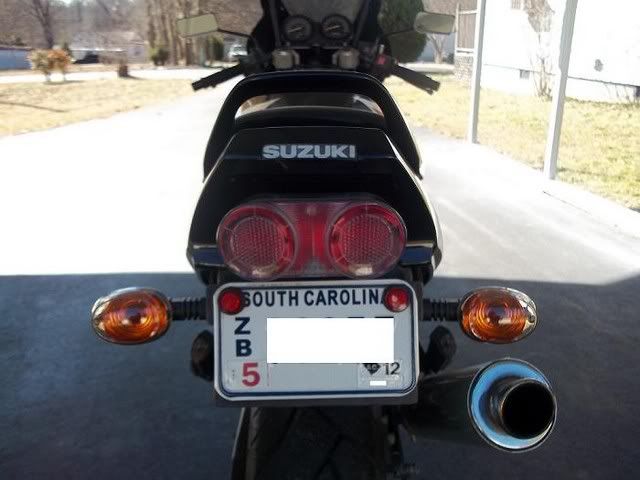
Here is the after shot.Way better and more stylish than the red brick.It is also brighter, because there is less colored plastic around the bulbs.
My next installment will cover getting rid of those hideous stock flapping turn signals, or directional indicators if you're in other parts of the world.
1999 Yamaha R1 Tail Light To GS500E Conversion-The Beginning.
This entry was posted on at 4:49 PM and is filed under gs500e, gs500f, modifications, motorcycle, motorcycles, r1 taillight, suzuki, upgrades. You can follow any responses to this entry through the RSS 2.0. You can


